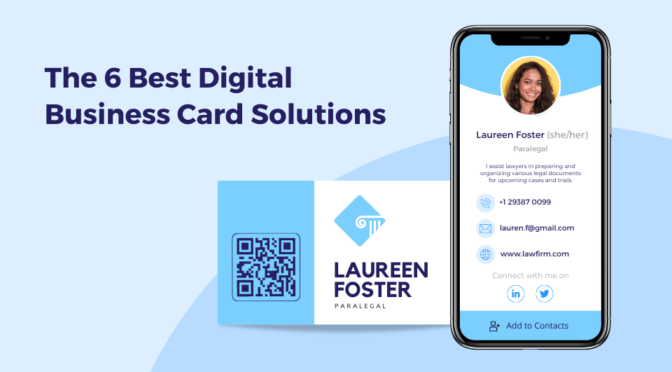
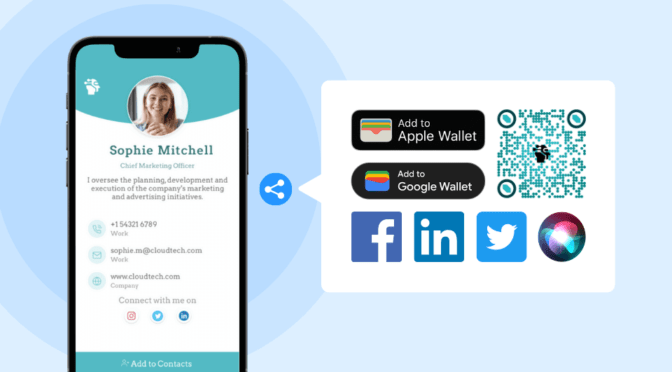
A digital business card lets you network in a completely paperless and convenient manner. You simply need to share your digital business card QR Code or URL with your prospects.
Now, imagine you have saved the QR Code or URL (essentially your digital business card) in your already crowded phone storage. Finding your card can be time-consuming when you wish to instantly share it with your prospects.
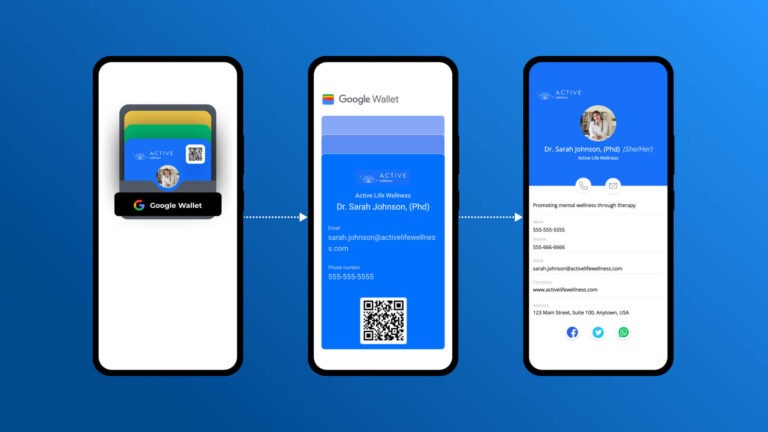
A faster and more professional way is to share your digital business card as a Google Wallet pass. This way, all you need to do is open your Google Wallet to access your digital business card (stored as a Google Wallet pass)—and share it instantly with your prospects.
Your digital business card, stored as a Google Wallet pass, is also referred to as a Google Wallet business card.
Keep reading to learn how to add your digital business card to your Google Wallet in less than two minutes.
Note: We will demonstrate the process using Uniqode’s digital business card solution.
If you do not have an account with Uniqode, you can sign up for a freemium plan to create digital business cards.
![]()
Table of contents
- How to add your digital business card to your Google Wallet
- Send 1000+ digital business cards to their owners with a single click
- Create and share Google Wallet business cards effortlessly with Uniqode
- Frequently asked questions about Google Wallet business cards
How to add your digital business card to your Google Wallet
First, create a digital business card.
Choose a preferred template, add your contact information, customize the design, and enable essential networking features you require.
Once done, follow the process below to add your digital business card to your Google Wallet.
1. Generate a Google Wallet pass for your digital business card
Once you complete creating your digital business card, click “FINISH“. A side modal will show up with your digital business card.
1. Scroll down and click “Google Wallet pass” on the side modal.
2. A new modal with “Get Google Wallet pass” will appear on your screen.
Here is visual representation of the process mentioned above:
Next, find the options to customize the look of your wallet pass. Once done, follow the steps below to add it to your Google Wallet.
2. Add the wallet pass to your Google Wallet
With Uniqode, you can add your wallet pass (essentially your digital business card QR Code) to your Google Wallet in three easy steps.
a. Scanning the QR Code to add the wallet pass

Under “Get Google Wallet pass”, find the option “Scan QR Code“. Scan the QR Code using your Android phone’s camera or a dedicated QR Code scanner app.
After scanning the QR Code, the wallet pass will load into your Google Wallet. You can then save this pass with a single click.
b. Accessing the URL to add your wallet pass

Under “Scan QR Code“, click “Copy URL” to get the link to your wallet pass. Open the link to add the pass to your Google Wallet.
c. Emailing the wallet pass

You can also email the card to your mail ID. Simply find the “Email to” field at the bottom of the pop-up and click “Send”. You will receive a URL via mail. Click the URL to instantly add the digital business card to your Google Wallet.

💡Pro tip: You can send 1000+ digital business cards to their owners with a single click
Suppose you have created digital business cards for a 1000-member team. Now, you want to send individual cards as Google Wallet passes to the respective owner (team member) in a single click. Here’s how you can do it:
1. Click the profile icon at the dashboard’s top-right corner.
2. Select “Organizations” from the drop-down. You will be directed to the associated dashboard.
3. Click the settings icon corresponding to an “ORGANIZATION ID”.
4. Under “Manage permissions”, toggle “Auto send wallet passes to the owner”.
5. Finally, click “Save”.
Once you enable the auto-send feature, the digital business cards will be sent as Google Wallet passes to the respective owners’ email IDs as soon as you create the cards.
Upon receiving the email, owners can simply click the URL and add the digital business card to their Google Wallets.
Note:
1. “Organization” refers to the set of users/teams you play the admin role for.
2. “Owner” refers to the user whose email address has been assigned to a specific card.
To learn about other card-sharing methods, check out our guide on how to share a digital business card.
Create and share Google Wallet business cards effortlessly with Uniqode
With Uniqode, all it takes is two clicks to add a digital business card to your Google Wallet and digitize your networking efforts.
Most importantly, with Uniqode, you do not need to download any app to add your digital business card to Google Wallet (unlike its counterparts). You just need to log-in to the platform, create a digital business card and add it to your Google Wallet. You can then share the Google Wallet business card with your prospects in a 100% paperless manner.
Furthermore, Uniqode’s digital business card solution secures all your business card activities with powerful enterprise-grade security measures such as SOC® 2 Type 2 and GDPR compliance.
The mentioned capabilities, along with many others, position Uniqode as one of the best digital business card solutions the market has today.

Frequently asked questions about Google Wallet business cards
1. How to add an existing digital business card to my Google Wallet?
Here’s how to add your existing Uniqode digital business card to your Google Wallet:
- Log in to Uniqode’s dashboard.
- Click “My Cards” on the left sidebar. Then, you will be directed to the “My Cards” dashboard.
- Now, click the information icon (i) corresponding to the card you wish to add to your Google Wallet.
- A side modal appears on your screen. Scroll down and click “Google Wallet pass“.
- Then, you will see the “Get Google Wallet pass” pop-up on your screen. You can then find the options to customize the look of your wallet pass.
- You can add the digital business card to your Google Wallet in three ways:
- By scanning the QR Code
- By accessing the given URL
- By email
2. How do I add a business card to my digital wallet?
Follow the given steps to add a business card to your digital wallet via Uniqode:
- First, create a digital business card after logging in to Uniqode.
- Click “Finish” to complete the creation process.
- Then, a side modal pops up with your digital business card.
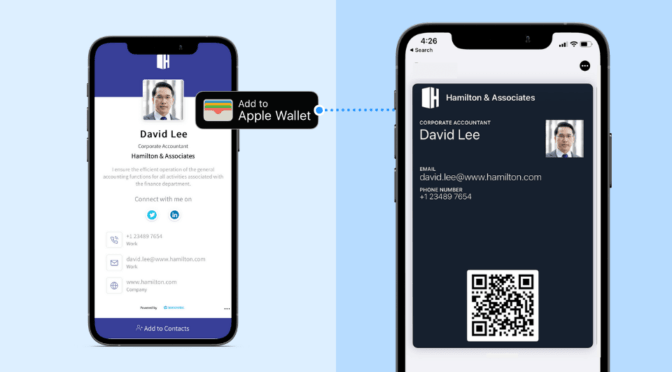
- Then, click “Apple Wallet pass” or “Google Wallet pass” as per your preference.
- A modal pops up on the screen with ”Get Apple Wallet pass”/ ”Get Google Wallet pass,” depending on what wallet you have chosen earlier.
- You can then add the digital business card to your Apple Wallet Business Card or Google Wallet using any of three options provided via the modal:
- By scanning a QR Code
- By accessing the given URL
- By mailing the wallet pass to your email ID
Kritika is a Senior Content Marketer at Uniqode, where she helps readers navigate networking in a phygital world. She has over 4 years of experience in breaking down complex technology trends into actionable insights for the SAAS domain.Her blogs talk about how business can opt for smarter and sustainable networking practices with digital business cards. When she’s not writing, you’ll probably find her baking something new or hanging out with her dog—who, by the way, has her own digital contact card too.


